Contents
Assessing the damage, ensuring proper ventilation, and using protective gear are essential steps in mold remediation after water damage. You can’t afford to overlook these processes, as they play a critical role in preventing mold growth and safeguarding your health. Knowing how to effectively tackle each stage can make all the difference, but there’s more to consider beyond just the basics. What specific strategies should you implement to ensure a thorough cleanup and avoid future issues?
Key Takeaways
- Conduct a thorough damage assessment, documenting visible mold and moisture levels to prioritize remediation efforts.
- Improve ventilation by opening windows and using fans to reduce humidity and promote air circulation.
- Wear protective gear, including N95 respirators and goggles, to safeguard against mold exposure during cleanup.
- Clean affected areas with a mix of water and detergent or bleach solution, ensuring surfaces are thoroughly rinsed and dried.
- Regularly inspect for mold recurrence every six months, focusing on moisture-prone areas to prevent future growth.
Assess the Damage
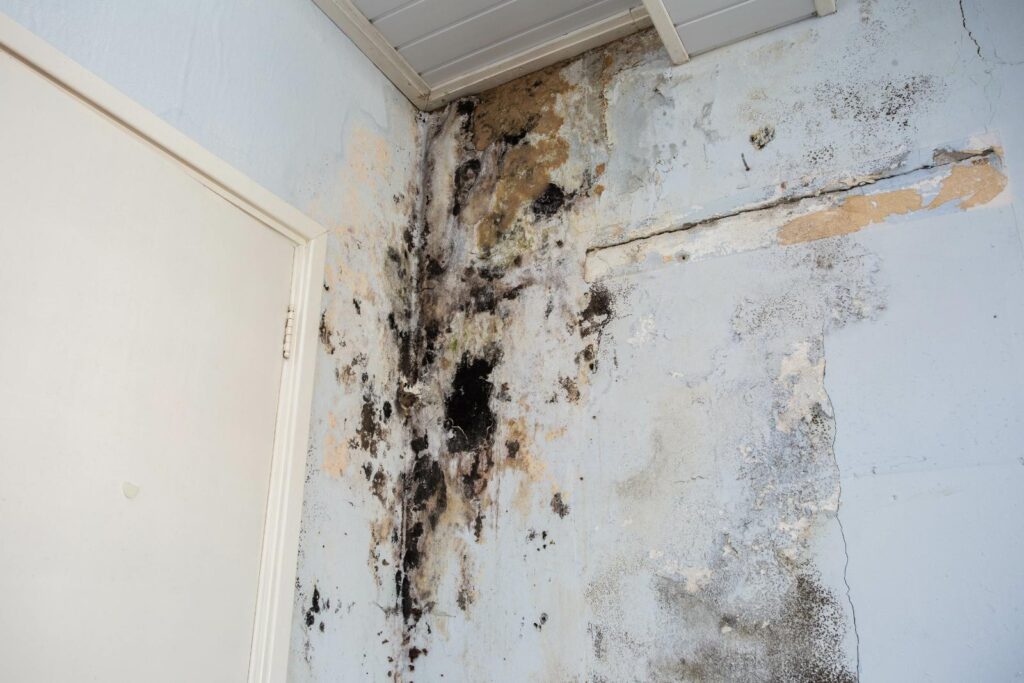
Before diving into mold remediation, you need to assess the damage thoroughly. This step’s crucial because it sets the foundation for effective remediation. Start with a damage evaluation; look for visible signs of mold, discoloration, or water stains. These indicators help you determine the extent of the problem, allowing you to prioritize areas that need immediate attention.
Next, conduct a moisture assessment. High humidity levels or dampness are often the culprits behind mold growth. Use a moisture meter to check the humidity levels in different areas of your home. Pay special attention to basements, crawl spaces, and any areas that have experienced water exposure. If moisture levels are above 60%, you’ve likely got a breeding ground for mold.
Furthermore, inspect hidden areas where moisture might accumulate, such as behind walls or under carpets. It’s essential to identify these spots, as mold can thrive in unseen environments. Document your findings carefully; this information will be invaluable for planning your remediation strategy.
As you go through this process, remember that thoroughness is key. Each detail you uncover contributes to your understanding of the situation. By taking the time to evaluate the damage and assess moisture levels, you’re not just preparing for remediation—you’re ensuring a healthier living environment for yourself and those you care about.
Ultimately, this careful assessment fosters a sense of belonging, as you’re taking proactive steps to protect your home.
Ensure Proper Ventilation
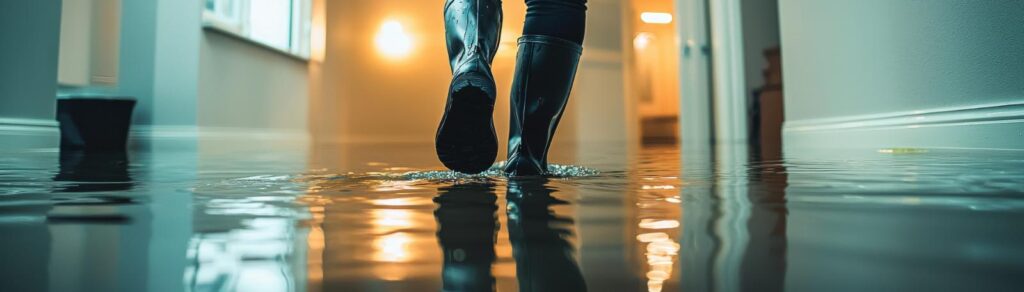
Ensuring proper ventilation is essential in preventing mold growth and maintaining a healthy indoor environment. When you experience water damage, the moisture left behind can create an ideal breeding ground for mold if not managed effectively. Implementing effective ventilation techniques is your first line of defense against this threat.
Start by opening windows and doors to promote natural air circulation. This simple step allows fresh air to flow through your space, helping to disperse humid air that mold thrives on. If weather conditions don’t permit, consider using fans to enhance air movement. Positioning fans strategically near damp areas can significantly reduce moisture levels.
You might also want to invest in a dehumidifier. This device works to remove excess moisture from the air, particularly in enclosed spaces where humidity levels can soar. Make sure to empty the dehumidifier regularly to maintain its efficiency.
In addition, check your HVAC system. If it’s running, ensure that it’s set to circulate air effectively. Regular filter changes can also improve air quality and circulation, preventing stagnant air where mold could grow.
Finally, remember to monitor humidity levels. Ideally, you want to keep indoor humidity below 50%. Using a hygrometer can help you track this easily.
Use Protective Gear
When tackling mold remediation, using protective gear is crucial for your safety and health. Mold spores can pose significant risks, leading to respiratory issues and skin irritations. By equipping yourself with the right safety equipment, you not only protect yourself but also ensure a more efficient remediation process.
Here’s a quick reference table outlining essential protective gear:
| Type of Gear | Purpose | Recommended Action |
|---|---|---|
| Protective Clothing | Shields skin from mold exposure | Wear long sleeves and pants |
| N95 Respirator | Filters out harmful spores | Use when entering affected areas |
| Safety Goggles | Protects eyes from irritants | Wear throughout the remediation |
Using protective clothing is non-negotiable. It acts as your first line of defense against mold exposure. Opt for long-sleeved shirts and pants made from non-porous materials. An N95 respirator is essential for filtering out dangerous spores, ensuring you breathe clean air. Safety goggles are equally important; they keep your eyes safe from irritants that can cause discomfort or injury.
Taking these precautions not only safeguards your health but fosters a sense of community and responsibility. When you prioritize safety, you’re not just protecting yourself; you’re setting an example for others involved in the remediation process. By wearing the right safety equipment, you can tackle mold head-on with confidence, knowing you’ve minimized the risks involved.
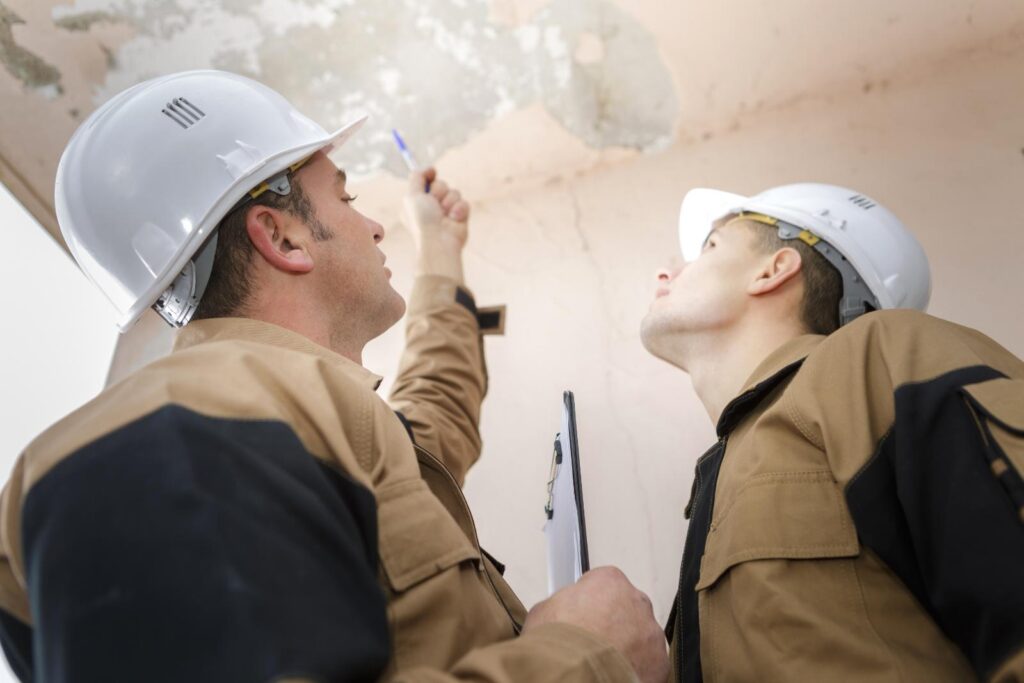
Identify Mold Types
Identifying the types of mold present in your environment is essential for effective remediation. Understanding the specific mold types you’re dealing with can significantly influence your approach to removal and prevention. There are various mold identification techniques you can employ, ranging from visual inspection to air sampling.
Start with a thorough visual inspection. Look for discoloration, fuzzy growths, or stains on surfaces. Common mold types include Stachybotrys chartarum, often referred to as “black mold,” which is notorious for its potential health risks. You might also encounter Aspergillus, Penicillium, or Cladosporium, each with its unique characteristics and implications for health and safety.
If visual inspection isn’t conclusive, consider using mold identification kits available in stores or online. These kits typically involve collecting samples from suspect areas and sending them to a lab for analysis. This can provide you with a definitive answer regarding the type of mold present.
Additionally, hiring a professional mold inspector can be a wise choice, especially if the problem is extensive or you’re uncertain about the safety of the environment.
Remove Affected Materials
After determining the types of mold present, the next step involves removing affected materials to prevent further contamination and health risks. Mold thrives on organic materials, so it’s crucial to identify and dispose of any items that can’t be salvaged, such as drywall, insulation, or carpeting. Effective mold removal techniques focus on isolating the contaminated areas to minimize the spread of spores during the removal process.
Before you begin, gather the necessary protective gear, including gloves, masks, and goggles, to safeguard your health. Once you’re prepared, carefully remove all affected materials, ensuring you handle them gently to avoid releasing spores into the air. Place these materials in sealed plastic bags to facilitate safe disposal.
It’s essential to follow local regulations regarding affected materials disposal. Some items may require special handling, so check with your local waste management authority for guidance. This step not only protects your home but also aligns with community health standards, reflecting a sense of belonging and responsibility.
If the affected materials are extensive, consider hiring professional mold remediation services. They employ specialized mold removal techniques and have the expertise to ensure thorough removal and disposal, which can provide peace of mind.
Ultimately, by diligently removing affected materials, you can reduce the risk of mold returning and create a safer environment for yourself and your loved ones. Taking these proactive steps demonstrates a commitment to maintaining a healthy home.
Disinfect and Clean Surfaces
Once you’ve removed the affected materials, it’s crucial to disinfect and clean all surfaces in the area to eliminate any remaining mold spores and prevent future growth.
Start with thorough surface preparation; this involves clearing away dust, debris, and any loose particles that might harbor mold spores. A clean surface ensures that your cleaning agents can work effectively.
Next, select appropriate cleaning agents. A mixture of water and detergent can be effective for non-porous surfaces. For more challenging areas, consider using a solution of one cup of bleach to one gallon of water. Always follow the manufacturer’s instructions and safety guidelines when using these chemicals.
Apply the cleaning agents generously, ensuring you cover all surfaces, especially corners and crevices where mold can hide.
After applying the cleaning solution, scrub the surfaces with a brush or cloth to lift and remove any stubborn mold residues. Rinse the surfaces with clean water to remove any remaining cleaning agents, which can lead to future issues if left behind.
Once you’ve cleaned and rinsed the surfaces, allow them to dry completely. Proper drying is essential, as moisture can promote mold regrowth. You may want to use fans or dehumidifiers to expedite this process.
Monitor for Recurrence
To prevent mold from returning, you need to conduct regular inspections of your home.
Keeping humidity levels in check is crucial, as excessive moisture creates an ideal environment for mold growth.
Regular Inspections Needed
Regular inspections play a crucial role in effective mold remediation, as they help identify any signs of recurrence before they escalate into larger problems.
By routinely checking your home for mold growth, you not only ensure a healthier living environment but also create a sense of security for yourself and your loved ones.
Establishing an appropriate inspection frequency is vital. Generally, you should conduct thorough inspections at least every six months, or more frequently if you’ve had previous mold issues.
Pay close attention to areas prone to moisture, such as bathrooms, basements, and around windows and pipes.
When inspecting, look for visible mold, water stains, or musty odors, as these are indicators of potential mold growth.
If you spot anything concerning, address it immediately.
Don’t hesitate to call in professionals if needed; their expertise can prevent a small issue from becoming a major crisis.
Humidity Control Measures
Monitoring humidity levels is a key strategy in preventing mold recurrence after remediation efforts. High humidity creates an ideal environment for mold growth, so it’s crucial to keep those levels in check. You can achieve this by regularly using a hygrometer to measure indoor humidity. Aim to maintain levels between 30% and 50%.
In addition, consider your dehumidifier options. Here’s a simple comparison of various types:
| Dehumidifier Type | Capacity (pints/day) | Ideal Room Size (sq ft) | Energy Efficiency | Cost Range |
|---|---|---|---|---|
| Portable | 30-50 | Up to 1,500 | Moderate | $150-$300 |
| Whole-House | 50-100 | Whole home | High | $1,000-$2,500 |
| Mini | 10-20 | Up to 500 | Low | $50-$150 |
| Basement | 40-70 | Up to 2,000 | Moderate | $200-$400 |
| Industrial | 100+ | Large areas | Variable | $2,500+ |
Summary
By following these mold remediation tips, you’re not just cleaning; you’re reclaiming your space. Picture fresh air flowing through open windows, sunlight banishing shadows where mold once thrived. With protective gear donned, you’re a determined guardian against hidden threats, scrubbing surfaces until they shine. Regular inspections keep your environment healthy, like a vigilant watchtower overlooking a lush landscape. Embrace these practices, and you’ll create a safe haven free from the grips of mold, ensuring peace of mind for years to come.